"I want to make my own SNS app, but it seems difficult..."
Do you have such concerns?
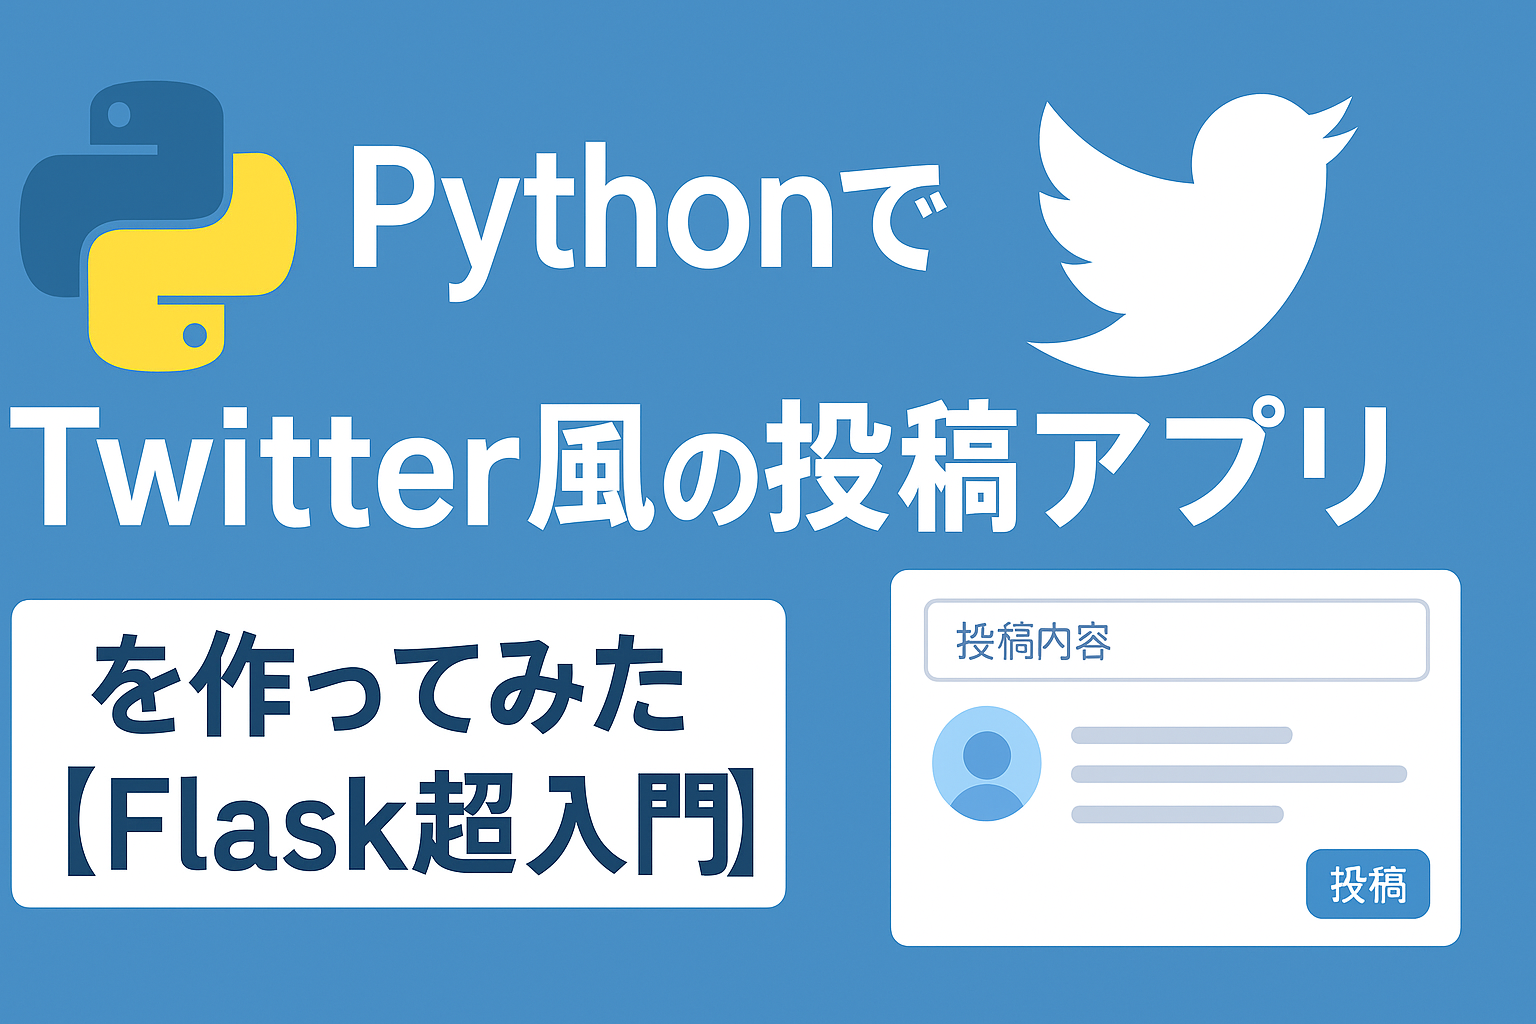
actually,Using Python and Flask, even beginners can easily create a Twitter-like posting app.You can create it.
In this article, we will explain the following in simple terms that even elementary school students can understand:Step-by-step guide to creating a social networking appI will.
After reading this article, you will learn:
• How to create a web app using Flask
• A mechanism for saving and displaying posted content
• Tips for creating easy-to-use apps
Content that allows you to experience the "fun of programming"Please read until the end and create your own app!
- What is Flask? Relationship with Python [Flask Python]
- What you can learn from Twitter-like apps [How to make a Twitter-like app]
- Prepare a development environment for Flask [Flask development environment]
- Let's implement a posting app [Posting app Python]
- Let's add some functionality [Flask Post Extension]
- Let's run the completed app [Run Flask app]
- What are the ways to apply Flask? [Flask Learning Application]
- Summary: Benefits of creating a Twitter-like app [Flask Python learning benefits]
What is Flask? Relationship with Python [Flask Python]
Why choose Flask?
Conclusion: Python makes it easy to create web applications.
Python is a popular programming language for beginners.
Flask is a Python language for creating websites and web applications.Lightweight Frameworkis.
For example, Flask was chosen for the following reasons:
• You can freely add only the features you need.
• Little initial setup required, so you can get started right away
• Supports small applications to large systems
• Easy to use for learning purposes
More powerful than other frameworks (such as Django)simpleAnd the best thing about it is that it's easy to learn.
In other words, Flask is perfect for beginners who have something they want to create.It is a good option.
Explaining the differences with other methods
Conclusion: Flask's appeal lies in its freedom and lightness.
The differences between it and other frameworks and services (Django, PHP, WordPress, etc.) are as follows:
• Django: Fully featured, but with a lot of learning curve
• PHP: Has been used for a long time, but the code tends to be complicated
• WordPress: Easy to create a blog, but customization is limited
On the other hand, Flask,
• You can choose the parts you need and assemble them yourself.
• The code is easy to see and understand, even for beginners.
• actuallyLearn the basics of websites
This has the following advantages:
What you can learn from Twitter-like apps [How to make a Twitter-like app]
List of things you can actually do
Conclusion: You can experience the process of posting → saving → displaying.
Simply put, a Twitter-like app is an app that can do the following:
• Enter text from the posting form
• When you press the post button, the data will be saved.
• Saved posts are displayed in a list
This alone is enoughBasic structure of a web app" You can learn.
If applied further...
• Delete or edit a post
• Displaying the date and time
• Added login functionality
It will also be possible.
In what situations is it useful?
Conclusion: This is the first step to understanding programming and creating your own apps.
By creating this Twitter-like app, you will acquire the following skills:
• Understand how web applications work
• Understand the relationship between form submission and server processing
• The range of things you can create with Python expands
Also,Successful programming experienceThis also leads to increased motivation to study further.
Prepare a development environment for Flask [Flask development environment]
Required software and preparation steps
Bottom line: you just need to install Python and Flask.
Follow the steps below to set up your development environment.
1. Install Python (official website: https://www.python.org/)
2. Create a virtual environment with the command
3. Install Flask
1 | |
Now you're ready to go.
How to use a virtual environment (for beginners)
Conclusion: Use a virtual environment to avoid affecting other apps.
What is a virtual environment?Ability to create dedicated workspaces for each appis.
This allows you to keep different projects separate.
• This is useful if you want to use Flask 2.0 for project A and Flask 3.0 for project B.
To use a virtual environment:
• Activate with source venv/bin/activate
• Finish with deactivate
Even beginners can use it right away,Be sure to include this in your Flask apps..
Let's implement a posting app [Posting app Python]
Folder structure and basic files
Conclusion: Dividing folders into a set format makes it easier to see.
The basic configuration is as follows:
1 | |
• app.py: The main Python file
• templates/: Where to put HTML files
• static/: Folder for placing CSS, images, etc.
How to create a submission form
Bottom line: create a form with HTML and process it with Flask.
Write the following code in index.html.
1 | <=> |
The process received on the Python (Flask) side is as follows:
1 | = = =[, ]) == = = |
This will achieve "Post → Save → Display".
Save and list posted content
Bottom line: store your data in lists or files and display it in HTML.
First, on the Python side, add the post content to a list called posts.
Then, display the content in index.html.
1 | <> |
This will allow your posts to be displayed in a list.
Let's add some functionality [Flask Post Extension]
Date and time display/post deletion function
Bottom line: adding a few features can make your app more versatile.
To record the time of posting along with your post, use:
1 | =[, ]) == = = = |
To display the date and time in HTML:
1 | <> |
Clean up the appearance a bit (HTML and CSS)
Bottom line: a neater look makes it easier to use.
Write the following in static/style.css.
1 | : ; : : : ; : 0; |
index.html Let's load the CSS partially.
1 | <==> |
Let's run the completed app [Run Flask app]
Steps to run locally
1 | |
Now open http://127.0.0.1:5000/ in your browser and the app will run.
Common errors and solutions
• SyntaxError: This is caused by a missing closing parenthesis or colon.
• ModuleNotFoundError: Flask may not be installed.
What are the ways to apply Flask? [Flask Learning Application]
Developed to database linkage and login functions
• SQLite etc.DatabaseSave data with
• User-specific posting function (login/registration)
The following articles may also be helpful in this regard:
👉 AI to predict student grades using Python
How to apply what you've learned
• Your own message board
• Study record app
• Message board at home
You can learn in a fun way by creating an app based on your own ideas.
Summary: Benefits of creating a Twitter-like app [Flask Python learning benefits]
The benefits of creating this app are as follows:
• Understand the basics of web application development
• Improve your ability to apply Python
• Gain the confidence to say, "I made it myself!"
A social networking-style app created with Flask is a perfect learning subject.


